The Inspiration ...
STEP 1
I always try to use
some guide lines, a circle and some straight horizontal and vertical lines, it
helps me structure the skull. You need more guidelines, draw them.
STEP 2
Two circles for the
eyes, usually it would some kind of parallelogram but I will try circle to be
able to put more decorations. An upside down heart for the nose is not too hard
to draw. Then comes the tricky parts, I know the teeth should be between the middle
of each eye so I imagined two straight lines and drew the top part. The cheek
bones too are tricky but with the guidelines it’s easier than taking a guess.
Then I drew the jaw and completed it with the head shape.
STEP 3
10 teeth on the top
part; 5 teeth on the left and the right. 10 teeth on the bottom; 5 teeth on the
left and the right. I try to make the teeth in the middle bigger than the teeth
on each side, just to give the illusion of the teeth being further back and
smaller. Then I filled the rest black and redefined the whole skull.
STEP 4
Let’s start decorating
this skull with some petals around the eyes. Sketching bigger circles around
the eyes to draw nice curves could help.
STEP 5
Now it’s getting
harder, I started by drawing two curves on each side of the nose, following the
the nose without making the lines touch each other. Then I attached a swirl to
each curved lines going on the opposite direction. Then I drew a swirl in each
cheek bones following the outline and leaving a gap. I drew a curved line under
each eye and completed it with some dots, drops, circles and two weird shaped
triangles. Always making sure to leave gaps between everything.
STEP 6
For no particular
reason I drew a third eye between the eyes. Then as usual I followed the curves
of the third eye and split the line in two to make two hooks close to the nose.
Then I drew some circles to give it more decorations.
STEP 7
For fun I gave the
skull some eyebrows and then I drew a swirl on each side. I have to admit that if
I wasn’t drawing it in photoshop with my wacom tablet I would have folded a
paper in two, drew half the skull, drew all the decorations on one side and
then traced the other half two make the whole drawing more symmetrical.
STEP 8
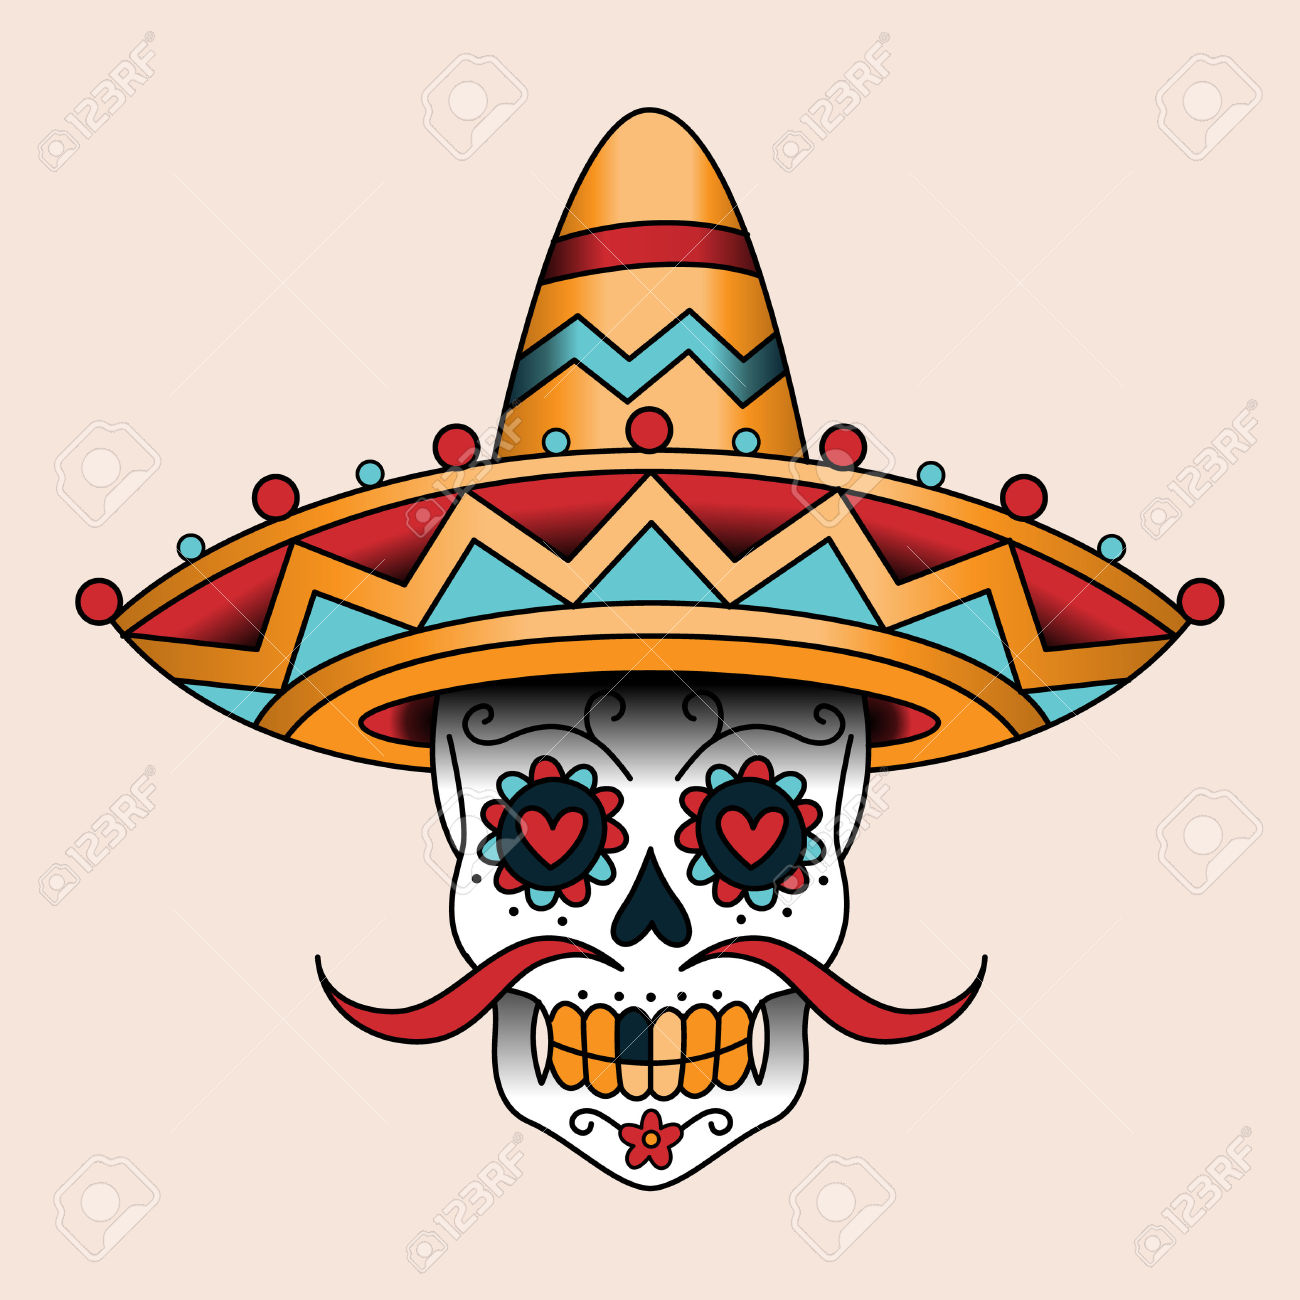
I like hearts, so
I drew one heart in the right eye, pointing up for positive meaning in the
right eye, maybe for righteousness. And the inverted heart, pointing down
in the left eye. Having good and bad in the same drawing. Maybe one side could
be light and the other side could dark when it will be time to color it.
STEP 9
3 Half circle on the
top of the head. 2 short and big swirls on each side followed by longer and
smaller swirls going on the opposite side. I put 2 curved lines giving the
illusion the there are more decoration on the skull going to the back of the
head. Then I drew some horizontal drops and diagonal drops going on the
opposite side. To complete the forehead I put some more drops, circles, and
swirls where I had space. Then I drew the weird pentagonal shape in the
forehead, I had no clue what to put there so I followed with curvy lines and
that’s what it did.
STEP 10
For the the jaw start by drawing the big swirls in the chin and finished them with a smaller swirl
behind the teeth, on the bone. Behind the smaller swirls draw 2 curved lines
and 3 circles in between. Then draw the 3 curved scratches, giving the
illusion they continue in the back of the jaw. Since there is space left, draw
circles and lines behind the big swirls and that’s it. All is left to do is to
color it, something I might do later and put it in my artworks. I’m pretty sure
that by drawing big decorations first and then completing it with smaller ones,
you could easily draw sugar skulls completely different and still be pretty
cool to look at.


-Monet.jpg)


