Sunday, August 14, 2022

Tangle Your Zen In A Portrait

Drawing I&II: Zentangle Drawings


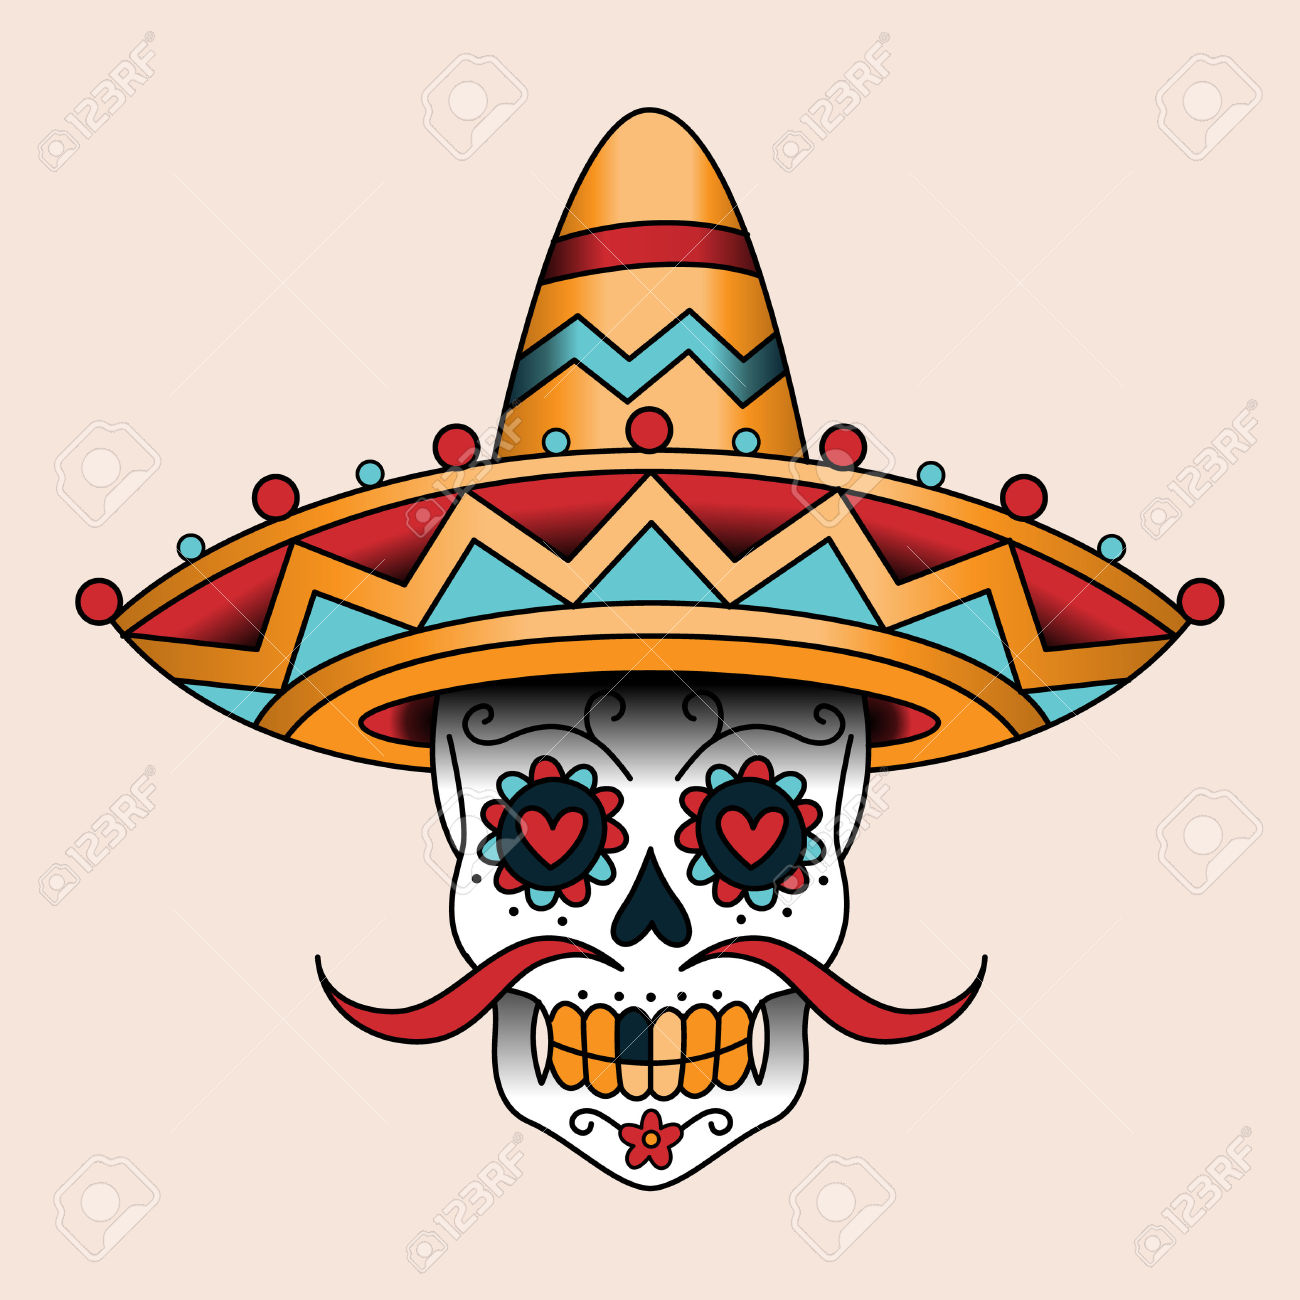
What is a Zentangle?
Zentangle - A Zentangle is an abstract drawing created by using repetitive patterns.  It is usually structured within a certain shape.  Drawing a Zentangle is entertaining, relaxing, and a great way to express yourself creatively.
String - A string is generally a random line drawn in pencil which creates an area within which you draw your tangles.
Tangle - In its verb form “tangle” means to draw a tangle.  You tangle a tangle, and in that process create Zentangle art.   In its noun form this word is used as a replacement for “pattern.”


Instructions:
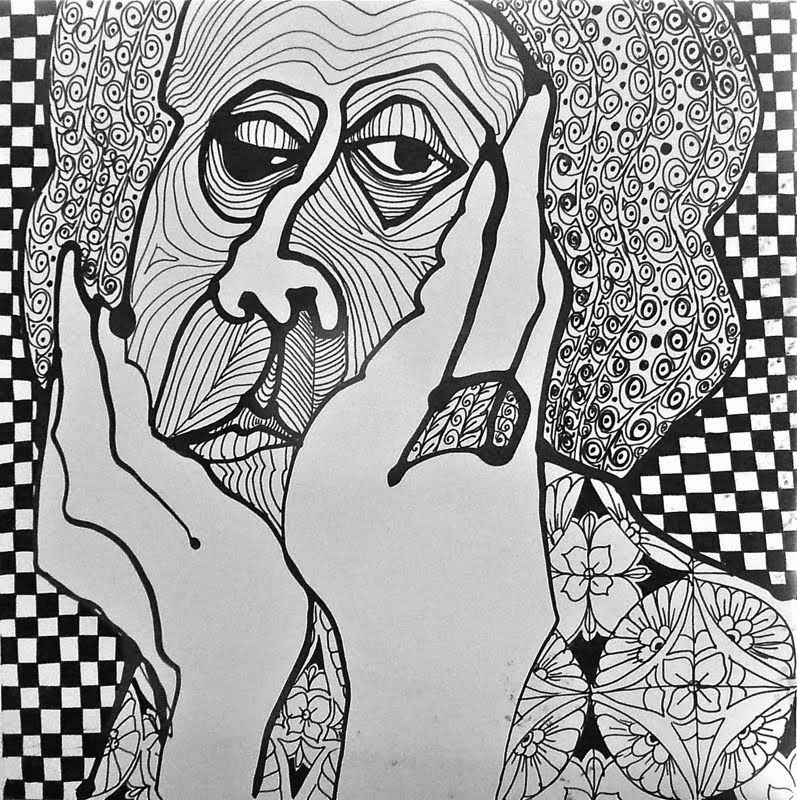
  1. Find a portrait of the person you wish to Zentangle/draw.
  2. Complete your design matrix with patterns you could use for your Zentangle portrait that use the elements and principles of design.
  3.  Brainstorm different shapes you could use as the outline or frame of your Zentangle portrait. 
  4. When you have decided on a portrait, draw it out on your paper using pencil.
  5. Draw in some “strings” to fit your “tangles” into your portrait.  These lines can be random, or they can help make your frame into a recognizable person, like the eyes, ears, mouth, and etc.
  6.  Choose at least 5 patterns from your design matrix to use in your Zentangle.  Be prepared to tell me how the patterns demonstrate at least one of the elements or principles of design. 
  7.   Fill in your Zentangle portrait with your tangles (patterns).  Think about balance and unity when filling in your design.  You should use at least 8 tangles in your completed image.  At least 5 must come from your design matrix. 
  8.  When your Zentangle portrait is complete, go over everything with black marker.
  9. Mat your finished image.  Sign the bottom right hand corner.
  10. Complete the rubric and paperclip it to your finished work.  Hand everything in. 
Project Requirements:
  • ·         Students will create a Zentangle portrait drawing using patterns created on their Elements and Principles design matrix.
  • ·         Students will demonstrate their knowledge of the elements and principles through the creation of tangles or patterns.
  • ·         Students will use at least eight different patterns in their drawing, and at least five must come from their design matrix.


Monday, April 1, 2019

Historic Downtown Panama City!

From the Downtown Improvement Board:


www.panamacitylighthouse.com


A Picture Paints a Thousand Words ...Downtown.


Tuesday, March 27, 2018

Drawords!?!


Mr. Flint Drawing I, II, & Honors III
Bay High School


BASIC PROJECT DESCRIPTION
You will complete a pen and ink drawing using words to determine values. By choosing a picture to work from with high emotional content and then selecting literature the reflect your emotional connection and that describe the picture's content. Words should be placed together tighter, made bolder etc. to achieve darker values.

DESCRIPTION:
STEPS – This instructs you step by step on the procedures to follow so you may successfully complete this project.
1) Select a picture that creates a feeling of emotion in you when you view it. The stronger you feel about the subject matter or theme, the better. If the picture is not black and white, a black and white copy should be made. In this stage, you will work on your thumbnail sketch. You may crop, enlarge, reduce, add details, leave out some details, create a composite thumbnail of several images, etc.
2)  Find  literature (i.e. Poem, quote, lyrics, Bible verse, or etc.) that describe the feelings or emotions of the image.
3) Investigate by experimenting with 8 different sketches using only the words from your chosen  literature, and from different areas of your chosen image. Words should be placed together tighter, made bolder etc. to achieve darker values. After we discuss your experimentation you will
4)  ,Complete a light line drawing of the picture. Be as accurate as possible. The finished product is never better than the original drawing.
5) Beginning with the darkest areas first, start laying in your words, obviously change the words as you go along, rather than repeating the same word over and over. Make the words tighter, more condensed, etc in the areas that need to be darkest. Spread them out as you get lighter. This is very much like stippling or pointillism, only you are using words instead of dots.
6) Complete the entire picture using words from your chosen piece of literature to define the picture and its different values.
7) Complete the self-evaluation rubric, tape to the back of your drawing.

REQUIREMENTS:
Check this often to make sure your project includes all of the requirements. 1) You must choose a picture that brings about an emotional response when viewed. 2) You must work from an approved thumbnail sketch. 3) All lines, shading, etc. are done with words only. 3) A full range of values must be present in the completed drawing. 4) The finished drawing will be completed in pen and ink. 5) The blog reflection.


Common Core State Standards:
·         Benchmark: LACC.1112.RST.2.4. Description: Determine the meaning of symbols, key terms, and other domain-specific words and phrases as they are used in a specific scientific or technical context relevant to grades 11–12 texts and topics. Body of Knowledge/Strand: Reading Standards for Literacy in History/Social Studies 6–12.
·         Benchmark LACC.910.RST.1.3. Description: Follow precisely a multi step procedure when carrying out experiments, taking measurements, or performing technical tasks. Idea/Standard: Key Ideas and Details. Body of Knowledge/Strand: Reading Standards for Literacy in History/Social Studies 6–12.

·         Benchmark: LACC.1112.RST.3.9. Description: Synthesize information from a range of sources (e.g., texts, experiments, simulations) into a coherent understanding of a process, phenomenon, or concept, resolving conflicting information when possible .Body of Knowledge/Strand: Reading Standards for Literacy in History/Social Studies 6–12.

Wednesday, January 17, 2018

MAIL CALL!


The Liberty Memorial in Kansas City is the only museum in the U.S. dedicated solely to World War I.  Featuring the coolest exhibits and interactive displays that carries you through. The museum appeals to the biggest history buffs and those who find discomfort with conflicts and hard-to-remember time lines (like me).  I have always had a fascination with living history and first-hand accounts that told individual stories ...feeling as if I am right there with them. For my reading folks dealing with primary and secondary sources you are in luck. Liberty Memorial rocks with the primary sources i.e. diaries and letters that describe the laughter, love and pain absent from textbooks ...not to mention the emotion captured in the candid photos.

A collection of envelopes that had encased letters from a father on the front to his son in San Antonio is a focal point within the Liberty Memorial.  Skillfully drawn and addressed to Private Walter L. Myers, these miniature works range from comical to patriotic and capture remarkable everyday experiences, from one soldier to another.  The sketches carry a message through time and space, so that a century later we understand at first glance.  Connection in the face of conflict.  Textbooks document the dates and time lines, victories and losses, nationalities, maps, destruction and casualties.  But a comical sketch sent from “somewhere in France” or a photo of the artist drawing in a distant combat zone soars above boundaries like the hot air balloons depicted by Myers, an artillery scout.  It doesn’t matter if the soldier is French, American, German or Russian – he’s a man and a father, far away from home.


Wednesday, November 1, 2017

Throwing Shade Your Way!


Shading consists of five areas of concentration. 


Tuesday, October 17, 2017

Day of the Head (Step X Step)!

The Inspiration ...


STEP 1
I always try to use some guide lines, a circle and some straight horizontal and vertical lines, it helps me structure the skull. You need more guidelines, draw them.

STEP 2
Two circles for the eyes, usually it would some kind of parallelogram but I will try circle to be able to put more decorations. An upside down heart for the nose is not too hard to draw. Then comes the tricky parts, I know the teeth should be between the middle of each eye so I imagined two straight lines and drew the top part. The cheek bones too are tricky but with the guidelines it’s easier than taking a guess. Then I drew the jaw and completed it with the head shape.

STEP 3
10 teeth on the top part; 5 teeth on the left and the right. 10 teeth on the bottom; 5 teeth on the left and the right. I try to make the teeth in the middle bigger than the teeth on each side, just to give the illusion of the teeth being further back and smaller. Then I filled the rest black and redefined the whole skull.

STEP 4
Let’s start decorating this skull with some petals around the eyes. Sketching bigger circles around the eyes to draw nice curves could help.

STEP 5
Now it’s getting harder, I started by drawing two curves on each side of the nose, following the the nose without making the lines touch each other. Then I attached a swirl to each curved lines going on the opposite direction. Then I drew a swirl in each cheek bones following the outline and leaving a gap. I drew a curved line under each eye and completed it with some dots, drops, circles and two weird shaped triangles. Always making sure to leave gaps between everything.

STEP 6
For no particular reason I drew a third eye between the eyes. Then as usual I followed the curves of the third eye and split the line in two to make two hooks close to the nose. Then I drew some circles to give it more decorations.

STEP 7
For fun I gave the skull some eyebrows and then I drew a swirl on each side. I have to admit that if I wasn’t drawing it in photoshop with my wacom tablet I would have folded a paper in two, drew half the skull, drew all the decorations on one side and then traced the other half two make the whole drawing more symmetrical.

STEP 8
I like hearts, so I drew one heart in the right eye, pointing up for positive meaning in the right eye, maybe for righteousness. And the inverted heart, pointing down in the left eye. Having good and bad in the same drawing. Maybe one side could be light and the other side could dark when it will be time to color it.

STEP 9
3 Half circle on the top of the head. 2 short and big swirls on each side followed by longer and smaller swirls going on the opposite side. I put 2 curved lines giving the illusion the there are more decoration on the skull going to the back of the head. Then I drew some horizontal drops and diagonal drops going on the opposite side. To complete the forehead I put some more drops, circles, and swirls where I had space. Then I drew the weird pentagonal shape in the forehead, I had no clue what to put there so I followed with curvy lines and that’s what it did.

STEP 10
For the the jaw start by drawing the big swirls in the chin and finished them with a smaller swirl behind the teeth, on the bone. Behind the smaller swirls draw 2 curved lines and 3 circles in between. Then draw the 3 curved scratches, giving the illusion they continue in the back of the jaw. Since there is space left, draw circles and lines behind the big swirls and that’s it. All is left to do is to color it, something I might do later and put it in my artworks. I’m pretty sure that by drawing big decorations first and then completing it with smaller ones, you could easily draw sugar skulls completely different and still be pretty cool to look at.